
b2b email marketing best practices: 10 tips for 2025 success
Explore b2b email marketing best practices with practical tips to boost open rates, engagement, and conversions in 2025.
Read article
Learning how to schedule an email in Outlook 365 is one of those simple skills that completely changes how you manage your communication. It’s the difference between hitting "send" whenever you finish writing and strategically choosing the exact moment your message arrives. This small shift turns your email outreach from a reactive chore into a planned, tactical action.
Let's be real: a sales proposal that lands in a prospect's inbox at 2 AM doesn't exactly scream professionalism. Neither does a follow-up email sent on a national holiday. Scheduling your emails is about respecting your recipient's time and making sure your message has the best possible chance of being seen, especially when it comes to cold outreach where that first impression is everything.
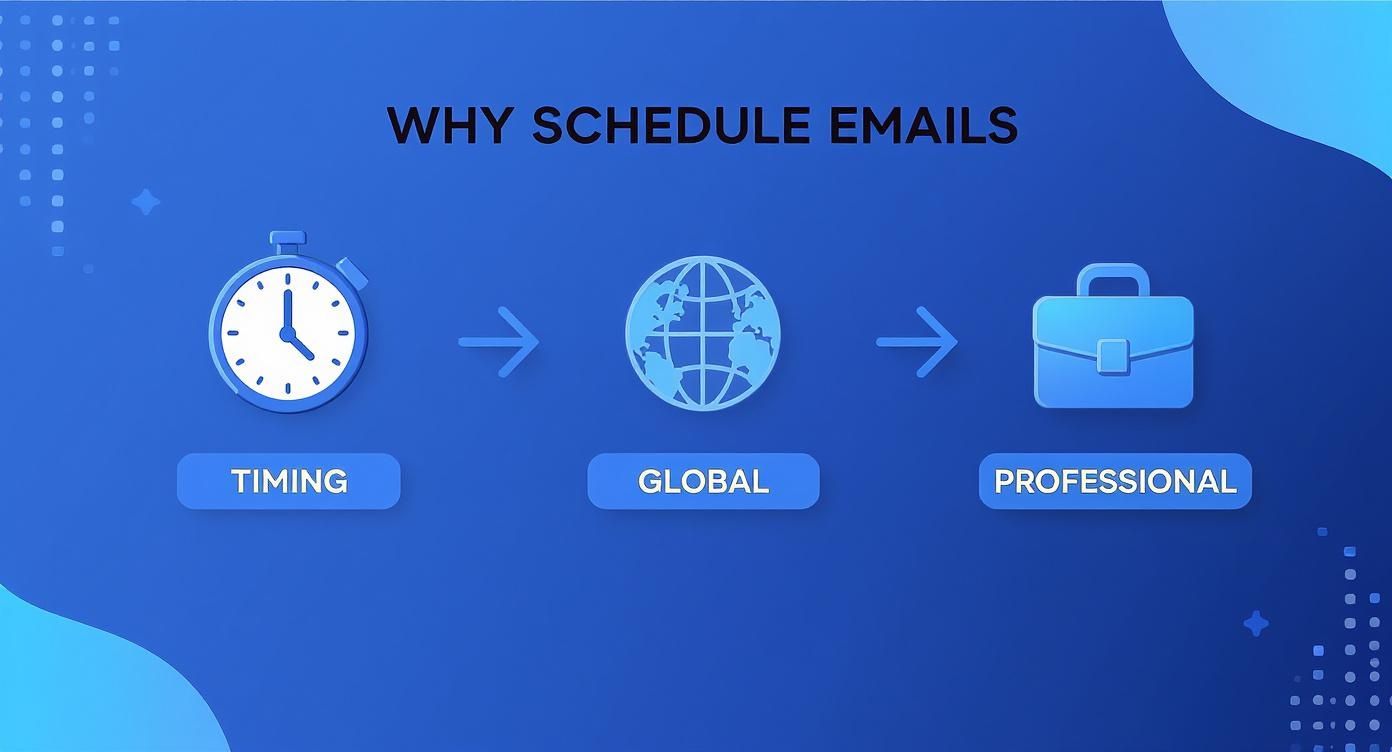
Timing is a massively underrated part of email communication. The right timing can mean the difference between getting a fast reply and being buried in a digital avalanche.
I once saw a Reddit thread where a B2B salesperson shared their secret: they always schedule cold emails to arrive between 9:30 AM and 10:30 AM in the recipient's local time. Why? It hits that sweet spot after the morning coffee rush but before the lunch break chaos. It’s a simple trick to avoid the Monday morning deluge and the Friday afternoon "I'm already checked out" vibe.
This level of control gives you some serious advantages:
Using Outlook's scheduling feature shows you're not just firing off messages haphazardly; you're being considerate. It’s a subtle signal that you’ve planned your communication and respect the other person’s schedule.
Another user on a sales subreddit put it perfectly: "When I get a well-timed email, it tells me the sender is organized. It’s a small thing, but it builds trust before I even open the message." That’s the real value—it’s a micro-interaction that builds a professional reputation.
Scheduling your emails ensures your communication is always thoughtful and intentional. It demonstrates planning and respect, which are foundational to building strong professional relationships.
If you want to get into the nitty-gritty of how it's done on every device, this practical guide to scheduling emails in Outlook will walk you through the entire process.
Knowing how to schedule an email in Outlook 365 isn’t a one-size-fits-all skill. The process changes depending on where you're working—at your desk, on the web, or from your phone. While the ability to delay a send is almost always available, the exact steps can feel a bit different on each platform.
The reasons for scheduling an email, however, stay the same. You're aiming for better timing, coordinating across time zones, and maintaining a professional image. It’s a simple action with a surprisingly big impact.
This approach turns your email outreach from a reactive chore into a strategic move, timed perfectly to land in your recipient's inbox when it matters most.
Before we dive into the "how-to," here's a quick reference guide to see which scheduling features are available on different versions of Outlook.
| Platform | Standard Send Later | Recurring Send (Native) | Advanced Scheduling (Power Automate) |
|---|---|---|---|
| Outlook on the Web | ✅ | ❌ | ✅ |
| New Outlook (Windows) | ✅ | ❌ | ✅ |
| Classic Outlook (Windows) | ✅ | ✅ | ✅ |
| Outlook for Mac | ✅ | ❌ | ❌ |
| Outlook Mobile (iOS/Android) | ✅ | ❌ | ❌ |
As you can see, the Classic Windows version and the web app offer the most flexibility, especially when you bring in advanced tools. Now, let's get into the specifics for each one.
The web version of Outlook probably has the most straightforward and intuitive process.
After you’ve composed your message, don't click the big "Send" button just yet. Instead, look for the small dropdown arrow right next to it. Clicking that arrow reveals the Send later option. A small window will pop up, offering a few default times like "Tomorrow morning" or letting you pick a completely custom date and time.
Once you’ve set it, the email is whisked away to your "Drafts" folder, where it'll sit quietly until its scheduled departure.
This is where things can get a little tricky because Microsoft currently has two different versions of Outlook for Windows in play: the "classic" app and the "new" one.
New Outlook for Windows: The good news is that the new version works just like the web app. You'll find the same familiar dropdown arrow next to the "Send" button. Just click it, choose Schedule send, and set your time. It’s clean, modern, and easy.
Classic Outlook for Windows: The old-school desktop app has a completely different—and much less obvious—method. After writing your email, you need to click the Options tab in the top ribbon menu. From there, find and click the Delay Delivery button. This opens a "Properties" window where you have to check the box for "Do not deliver before" and then set your date and time.
A critical point for the Classic app: Your computer must be on and Outlook must be running and connected to the internet at the scheduled time. If the program is closed, the email won't go out. It will only be sent the next time you open the application.
Thankfully, the Mac version of Outlook follows the modern approach, aligning perfectly with the web and new Windows experience.
Once your email is ready to go, just look for that little dropdown arrow next to the "Send" button. Clicking it brings up the Send Later option. A menu will then appear, giving you some suggested times or the choice to set a custom schedule. Like the other modern versions, the email is then stored in your "Drafts" folder until it's time to send.
Scheduling from your phone is surprisingly easy and just as powerful as doing it from your desk. It's a lifesaver for managing communications when you're on the move, and the process is identical for both iOS and Android.
After you finish composing your email in the mobile app, tap the three dots (the ellipsis menu) located near the send icon. This opens up a short menu of actions, including Schedule Send. From there, you can choose from a few suggested slots or specify your own time.
The best part? Because the mobile apps are fully cloud-based, you can schedule the email and immediately close the app or even turn off your phone. The message will still be sent from the server at the right time—a huge advantage over the classic Windows desktop client.
If you're looking to dive deeper into managing sophisticated email workflows, you can find more guidance in these in-depth email tutorials.
So, you've got the hang of the basic "Send Later" feature. That's a great start. But now it's time to move beyond simple convenience and turn Outlook into a real productivity machine, especially for recurring emails and sales outreach.
Imagine never having to remember to send that weekly project update or the monthly invoice reminder again. While Outlook doesn't have a big, shiny "schedule recurring email" button, there's a clever workaround using recurring tasks that plenty of power users swear by. It’s a favorite trick shared on forums like Reddit for good reason—it’s simple and it just works.
This method basically tricks Outlook's task reminders into firing off an email for you. It's the perfect setup for any message you have to send on a predictable schedule.
When you need more firepower, especially for sales outreach and complex workflows, Microsoft Power Automate (which you might remember as Microsoft Flow) is your best friend. It’s a tool that lets you build automated workflows—they call them "flows"—that connect Outlook to other apps and services.
This is where things get really interesting. For instance, a sales team could build an entire cold outreach sequence right within the Microsoft ecosystem.
A setup like this completely transforms Outlook from a passive email client into an active, intelligent automation tool. No more leads falling through the cracks because you forgot to follow up. Of course, setting up automated sequences is only half the battle. You also need to make sure your mailboxes are healthy and ready for that kind of volume. For anyone managing multiple accounts for outreach, a proper warmup is absolutely critical to stay out of the spam folder.
Building a "flow" might sound intimidating, but Power Automate has a bunch of templates that make it much easier to get started. A simple follow-up sequence is a fantastic first project and can make a huge difference in your cold email response rates.
I saw a post on a sales subreddit where a user shared that automating their follow-ups boosted their reply rate by over 40%. Their takeaway was that most replies came after the second or third email—the kind of persistent follow-up that automation makes effortless.
Here’s what a basic follow-up template in Power Automate would look like:
By putting a simple flow like this in place, you create a system for consistent, timely communication that runs on its own. It's a perfect example of using technology to work smarter, not harder.
Knowing how to schedule an email in Outlook is the science, but knowing when to send it is the art. Let’s get one thing straight: the old advice to just "send on Tuesday at 10 AM" is dead. That might have worked for a generic marketing newsletter years ago, but for targeted outreach, timing is way more personal.
Real-world experience, especially the kind you find on forums like Reddit, shows the best time depends entirely on who you're emailing and their industry. A developer at a fast-moving startup probably has a completely different daily rhythm than a corporate exec. The developer might be most responsive on a Monday afternoon after clearing their morning backlog, while the executive is more likely to engage with a concise follow-up on Thursday morning before their weekend planning kicks into high gear.
Before you hit "Schedule Send," step into your recipient's shoes for a moment. Are you sending a detailed proposal that requires serious focus or just a quick request for a meeting? Your goal is to land in their inbox when their mindset matches your message.
One sales pro on Reddit shared a fantastic insight from their own A/B testing. They found that sending a short, value-packed cold email at 7:30 AM on a Wednesday consistently landed it at the top of the inbox right as their prospects sat down with their morning coffee. It was just early enough to beat the flood of internal company emails.
Here’s the thing: you can read all the advice in the world, but the only way to truly know what works for your audience is to test it. Don't guess—gather your own data. Outlook's scheduling feature makes this incredibly simple.
Try setting up a quick test for your next outreach campaign:
Using Outlook's 'Schedule Send' isn't just a tool for convenience; it's a powerful instrument for A/B testing. Thoughtful timing builds a reputation for non-intrusive communication, showing you respect the recipient's workflow.
These kinds of practical tests are far more valuable than generic industry benchmarks, which are often skewed by massive email marketing campaigns. By experimenting with different send times, you can turn a simple feature into a real competitive advantage.
Ever hit "schedule" on a crucial email, only to discover hours later that it never left your Outbox? It's a surprisingly common and frustrating moment, but the fix is usually simple once you know what's going on behind the scenes. Most scheduling glitches in Outlook 365 come down to one key difference in how the various apps operate.

The secret is understanding the difference between client-based and cloud-based scheduling. Think of it like this: cloud scheduling tells Microsoft's servers to send the email, while client scheduling tells your own computer to do it.
Cloud-Based (Web, Mobile, New Desktop App): When you schedule an email using these modern versions, the command is sent directly to the Microsoft 365 cloud. The server takes over from there, sending your message at the designated time—even if your computer is turned off, asleep, or completely offline.
Client-Based (Classic Desktop App): The older, classic desktop version works differently. It stores the scheduled email on your local machine. This means for the email to actually send, the Outlook application must be running and connected to the internet at the scheduled time. If you close the app, your email just sits patiently in the Outbox until you open Outlook again.
Another frequent headache is hunting for the "Send Later" or "Delay Delivery" option only to find it's either missing entirely or grayed out. You know it should be there, but it's just gone. This problem almost always comes down to your email account type or policies set by your organization.
Outlook's scheduling features are built for Microsoft Exchange accounts, which are standard for most Microsoft 365 subscriptions and corporate email setups. If you’re using an older email protocol like POP or IMAP within Outlook, the scheduling option simply won’t be available. It’s a limitation of those account types.
It's also possible your IT department has a say. In many company environments, administrators can disable specific Outlook features through Exchange server policies to enforce security protocols or streamline workflows. If you're sure you have an Exchange account but can't see the feature, a quick chat with your IT team is the next best step.
If you find your meticulously timed emails are getting stuck, the solution really depends on the cause. First, figure out which version of Outlook you’re using. If it's the classic desktop app, the most straightforward fix is to just leave Outlook running in the background until after your emails are scheduled to go out.
For those dealing with missing features, take a moment to check your account type by going to File > Account Settings. If it doesn't say Microsoft Exchange, you won't get access to the built-in scheduling tools.
Ultimately, getting your sends to work reliably is foundational to any outreach effort. For anyone running campaigns at scale, understanding these technical details is crucial for achieving great email deliverability and ensuring your messages land when they're supposed to.
You've got the basics down, but a few nagging questions always seem to pop up when you start scheduling emails. Let's tackle the most common ones I hear from people.
We've all been there. You hit "schedule," walk away, and then realize you forgot an attachment or made a typo. Don't worry, it's an easy fix.
In any modern version of Outlook, just head straight to your Drafts folder. You'll see your scheduled email sitting there, usually with a little note showing its planned departure time.
To change it, just open the email, make your edits to the body or the send time, and hit 'Send' again to re-schedule it with the new details. If you want to scrap it completely, just delete the message from your Drafts folder. Simple as that.
This is the big one, and the answer is a classic "it depends" on which version of Outlook you're using.
For Outlook on the web or the mobile app, the answer is no. Your scheduling instructions are saved on Microsoft's servers. You can schedule the email, shut your laptop, turn off your phone, and it will still go out right on time.
However, if you're using the classic Outlook desktop app on Windows, your computer needs to be on and Outlook must be open and online. If you close the program, the email just sits in your Outbox, waiting patiently to be sent the next time you fire up the application.
It's always a good idea to have a quick way to see what's in the queue.
Thankfully, Outlook keeps it consistent across most modern platforms. Your scheduled messages live in the Drafts folder right up until they're sent. Just pop into that folder, and you'll have a clear list of everything that's waiting to go out. From there, you can easily review, edit, or delete anything as needed.
While mastering your email workflow is a huge win, don't forget about the bigger picture of protecting your data. It's smart to understand critical Office 365 backup strategies to keep your entire digital workspace safe. And if you're looking to dive deeper into automation and deliverability, we've got plenty more information in our guides on cold email outreach.
Ready to scale your cold outreach without worrying about deliverability? InboxKit provides official Google Workspace and Microsoft 365 mailboxes with automated warmup and real-time DNS monitoring. Get started with enterprise-grade email infrastructure at https://www.inboxkit.com.
Explore b2b email marketing best practices with practical tips to boost open rates, engagement, and conversions in 2025.
Read articleDiscover the 12 best cold email infrastructure tools to scale outreach. Compare features, pricing, and deliverability for agencies and sales teams.
Read articleDiscover the best cold email software for deliverability and scale. We compare 12 top tools with real-world insights for agencies and B2B sales teams.
Read articleInboxKit provides everything you need to reach the inbox consistently