
How to Manage Multiple Email Accounts for Cold Outreach
Discover how to manage multiple email accounts efficiently with simple steps, workflows, and tools to stay organized and save time.
Read article
Drowning in email? If your inbox feels more like a chaotic mess than a productivity tool, Gmail’s multiple inboxes feature is about to become your best friend. This isn't just about using a few stars or labels; it's about building a fully customized command center right inside Gmail.
For anyone in sales, support, or running their own business, the standard inbox is a constant battle. Urgent client emails get buried under a flood of newsletters, internal chatter, and random notifications. It’s a purely reactive system, forcing you to constantly dig for what actually matters.
Multiple inboxes completely flips that script. It lets you build a proactive dashboard that brings your most important conversations to the surface, automatically. Think of it as creating dedicated, at-a-glance panes for your most critical workflows.
This is a game-changer for managing high-volume cold outreach or juggling multiple projects. Instead of one long, chronological list, you segment your inbox into actionable streams. I once saw a post on Reddit's r/gsuite where a user explained how they split internal company messages from external client follow-ups. It gave them an instant priority system without ever leaving their main screen.
Stop thinking of it as just an "inbox." It’s your new mission control. Here’s a taste of what you can do with it:
This kind of organization is non-negotiable for anyone running campaigns at scale. When you're managing hundreds of conversations, a single unified inbox is a recipe for missed opportunities. Features that bring order to the chaos are essential for staying productive.
Ultimately, mastering multiple inboxes gives you back a sense of clarity and control. It transforms your email from a source of stress into a tool for strategic action, making sure no opportunity gets lost in the noise.
Alright, let's get our hands dirty and turn that chaotic inbox into a powerful command center. The theory is nice, but the real magic happens when you start building panes that actually solve problems for you—not just using the default is:starred.
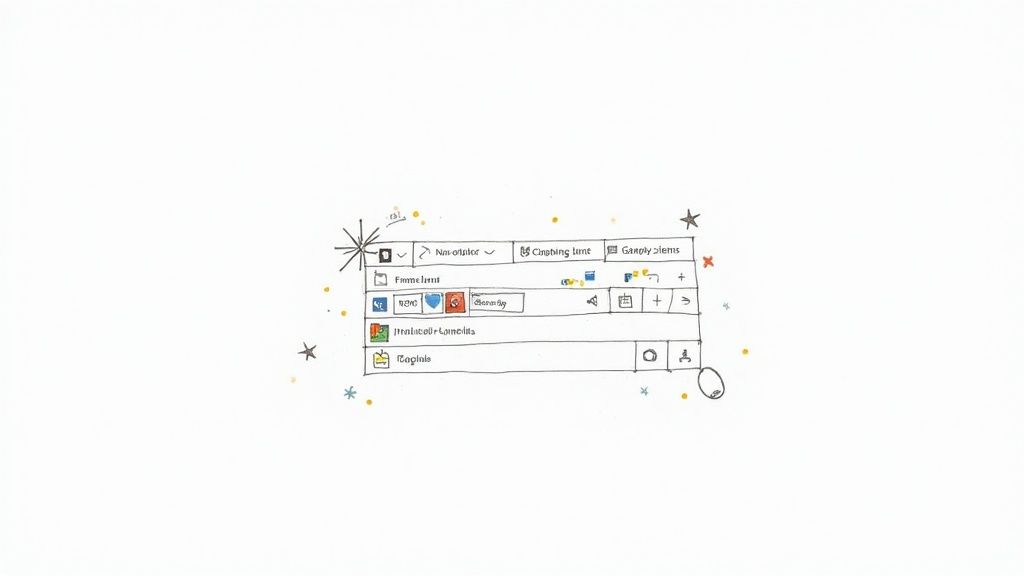
First things first, you have to switch the feature on. Head over to Settings (the little gear icon), click See all settings, and then pop into the Inbox tab. From there, just select Multiple Inboxes as your inbox type. This is where you'll bring your custom dashboard to life.
The whole idea is to stop drowning in a single, messy feed and start creating filtered, actionable streams of information.
Think of it like this: your powerful search queries act as the filter, turning that jumbled mess of emails into a dashboard that tells you exactly what to do next.
The secret sauce to making multiple inboxes in Gmail work is the search query. Don't just stick with the basics. Think about your day-to-day grind. What are you constantly searching for? What information do you need at a glance? That's what your panes should show you.
If you're in sales or running cold outreach, for example, a killer setup might look something like this:
Pane 1: Hot Leads (label:hot-lead is:unread)
This instantly puts new messages from your most important prospects front and center. You'll never miss a chance to jump on a conversation while the lead is still warm.
Pane 2: Follow-Ups Needed (from:me older_than:4d -label:replied)
I love this one. It's basically an automatic nudge, showing you every email you've sent that hasn't gotten a reply in four days. It’s a dead-simple way to stop opportunities from slipping through the cracks. For more on building smart outreach systems, check out our guide on agency workflows.
Pane 3: Key Account Comms (from:@bigclient.com)
This carves out a dedicated space for all emails coming from a major client. No more digging through the main inbox—you get a clean, focused view for tracking project updates and keeping that relationship solid.
A user over on r/sales shared a genius tip along these lines. They use a pane with the query
has:attachment "proposal"to get an instant, real-time list of every active sales proposal they've sent out. One simple query gives them a complete pipeline overview.
Once you've got your queries locked in, you need to decide where these panes will live. Gmail gives you three layout options, and the best one really depends on your screen real estate and personal preference.
Right of the inbox: This is the default and my personal favorite, especially on a widescreen monitor. It gives you that classic command center feel, with your main inbox on the left and your custom streams neatly arranged on the right.
Above the inbox: If you're working on a laptop, this is your best bet. It stacks your custom panes on top, which saves precious horizontal space. You'll have to scroll a bit more, but everything stays organized in one vertical column.
Below the inbox: This is just like the 'above' layout, but it tucks the panes at the bottom. It's not as common, but it can work well if your mental model is to clear your primary inbox first, then scan your custom sections.
Play around with each one. The goal is to find a layout that feels completely natural and intuitive, not like some new feature you have to wrestle with every morning.
The real magic of Gmail's Multiple Inboxes kicks in when you go beyond simple searches like is:unread. That's just the beginning. To build a system that genuinely works for you, especially in a fast-paced role like sales or account management, you have to start thinking like a programmer—combining search operators to create incredibly specific views.
This is the leap from just organizing emails to building a smart, automated workflow engine right inside your inbox. The goal isn't just to see emails, but to see the right emails at the right time, based on rules you set yourself.
Imagine a dedicated pane that acts as your personal follow-up assistant, showing every cold email you sent that hasn't gotten a reply in over a week. Or another that flags high-value responses that your automation might have missed labeling. This isn't wishful thinking; it's entirely possible with the right queries.
For any team running outbound campaigns, juggling replies and follow-ups across hundreds of conversations is a monumental task. Your multiple inboxes setup can transform into your central command center.
Here are a few powerful search queries you can copy and paste to get started, all designed specifically for cold email workflows.
This table provides a quick reference for powerful search operators and practical query examples you can use to manage sales and outreach workflows directly within Gmail's Multiple Inboxes.
| Use Case | Gmail Search Query Example | Description |
|---|---|---|
| Track Unanswered Outreach | `from:me subject:"Intro | Your Company" older_than:7d -in:chats` |
| Surface Uncategorized Replies | to:me label:outreach has:nouserlabels |
Acts as a safety net, catching all replies to your "outreach" emails that haven't yet been categorized with another label (e.g., "Interested," "Meeting Booked"). |
| Monitor a Specific Campaign | from:me subject:"[Q2 Promo]" |
Isolates all sent emails related to a single campaign, giving you a real-time view of that specific initiative's activity. |
| Find High-Value Prospects | (from:*.io OR from:*.ai) AND label:outreach |
Helps you prioritize by showing outreach-related emails from specific, high-value domains, like tech companies. |
| Isolate an Alias | from:(support@yourcompany.com) OR to:(support@yourcompany.com) |
Consolidates all communication to and from a specific "send as" alias, keeping it separate from your primary inbox traffic. |
By plugging these into your Multiple Inbox settings, you start to build a dashboard that actively helps you manage your pipeline.
So many of us use Gmail’s "Send mail as" feature to manage different email addresses from a single account. Multiple inboxes are perfect for keeping those conversations from getting tangled.
If you have your primary work email plus an alias like support@yourcompany.com, you can create panes to isolate the traffic for each one. No more mixing up support tickets with your personal work emails.
I once saw a fantastic query on a Reddit thread for this exact scenario:
from:(support@yourcompany.com) OR to:(support@yourcompany.com). It creates a clean, unified view of every single email sent from or received by that alias. Simple, but incredibly effective.
This method is also a lifesaver for executive assistants or team members who manage delegated inboxes. By using queries that specify the to: or from: field with your boss's email address, you can monitor and manage their key conversations without ever having to leave your own account.
To build truly powerful panes, you need to get comfortable with the building blocks of Gmail search. Think of them as Lego pieces you can snap together to create almost anything you can imagine.
Here are the key operators to master:
" " (Quotation Marks): For searching an exact phrase. subject:"Project Update" is far more precise than subject:Project Update.- (Minus Sign): The exclusion operator. This is your tool for cutting out the noise. -in:chats gets rid of Google Chat pings, and -from:notifications@ filters out most automated system alerts.{ } (Braces): This lets you combine multiple terms with OR logic. A query like {from:clientA@domain.com from:clientB@domain.com} shows emails from either Client A or Client B in the same pane.has:nouserlabels: This is the power user's secret for finding things that have fallen through the cracks of your labeling system. It instantly surfaces any email that doesn't have one of your custom labels.If you really want to get technical, you can even find inspiration for new queries by looking at the data hidden inside an email's header. Tools like an email header analyzer reveal all the fields you could potentially search against. This deeper insight helps you craft even more specific and effective filters for your multiple inboxes.
Mastering these operators is what transforms Multiple Inboxes from a simple display feature into a dynamic dashboard that surfaces opportunities and prevents costly mistakes.
A smartly configured dashboard is a huge step up. But a dashboard that organizes itself? That's a total game-changer. The real magic of Gmail's Multiple Inboxes happens when you pair it with filters, creating a system that automatically sorts your most important emails into the right panes without you lifting a finger.
This is where you graduate from building a static view to designing a dynamic, self-managing workflow. The aim is to have new leads, urgent replies, and critical updates show up in the right place the very moment they land in your account.
This kind of automation hinges on a simple but powerful partnership: filters do the labeling, and the panes display the labels. Think of your filters as tireless little assistants, reading and categorizing every single email so your dashboard can give you that perfectly organized, at-a-glance view.
Let's walk through a classic scenario for any sales team. You need a dedicated pane that instantly flags every new inbound lead asking for information.
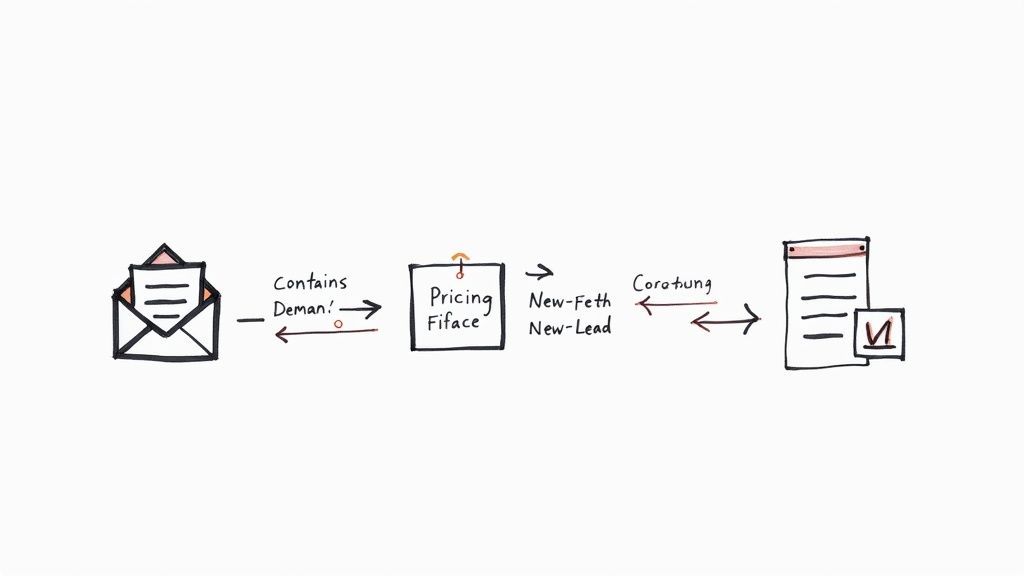
First up, you’ll create a filter. Head to Settings > See all settings > Filters and Blocked Addresses > Create a new filter. In the "Has the words" field, pop in some search terms that scream "new lead." A good start is something like:
"demo request" OR "pricing info" OR "get a quote"
Next, you tell the filter what to do with any email that matches. The crucial action here is to check Apply the label and then create a new one, maybe called New-Lead. I also like to check "Never send it to Spam" just to be safe. Now, any incoming email with those key phrases will get the New-Lead label slapped on it automatically.
The last piece of the puzzle is connecting this to your dashboard. Jump back into your Multiple Inboxes settings and set up a new pane with the search query: label:New-Lead is:unread. And just like that, you've built an automated lead-capture machine right inside your inbox.
I saw a great tip on Reddit’s r/sales where someone used this exact strategy for tracking competitor mentions. They set up a filter for keywords like
"competitor name" OR "alternative to"and applied a "Competitor-Intel" label. This fed directly into a dedicated pane, giving them a real-time stream of what was happening in the market.
As you start to rely on this more, you'll find that your entire automation system depends on a logical label structure. A messy, inconsistent system will just create chaos and break your workflow. It's best to think of labels not just as simple tags, but as the engine powering your whole dashboard.
To keep things running smoothly, here's an approach I've found works well:
Status-New, Status-FollowUp, or Status-Closed. It makes them easy to find and use in queries.Clients with nested labels underneath for each client's name.Once you’ve got your Gmail humming, it's a natural next step to explore broader marketing automation strategies for small businesses to see where else you can save time. Building this solid foundation in Gmail ensures your system stays powerful and clutter-free, even as your outreach and client list grow.
Getting your multiple inboxes in Gmail set up is a game-changer, but like any pro tool, there are a few quirks you'll bump into. This is where you graduate from just using the feature to truly mastering it, tweaking your setup to handle the messy reality of a busy inbox.
One of the most common headaches? An email stubbornly refusing to show up in the right pane. Nine times out of ten, the culprit is a tiny typo in your search query. A misplaced quotation mark, a forgotten hyphen, or a simple spelling mistake is all it takes to break the logic. Always triple-check your search operators—they’re the bedrock of your entire system.
Once your queries are firing correctly, you might notice your screen feels… cluttered. This is especially true on smaller monitors. The secret is to be ruthless about what really matters.
support@ or info@), give that traffic its own dedicated home. A simple query like to:support@yourcompany.com OR from:support@yourcompany.com pulls everything for that alias into one clean, manageable view.to:boss@email.com or from:boss@email.com.Here's a pro tip that's saved me more than once: teach your team how to whitelist an email. This prevents replies from high-value prospects or crucial partners from getting lost in spam, ensuring they actually hit your inbox where your filters and panes can work their magic.
Let's get this out of the way: the biggest drawback of multiple inboxes is that it's a desktop-only feature. It simply doesn't exist on the Gmail mobile app. But don't worry, there’s a solid workaround to keep your system intact when you're on the move.
The trick is to build your panes around labels. For example, if you have a pane powered by the search query label:Hot-Lead, you can't see the pane on your phone, but you can absolutely tap into the "Hot-Lead" label from the app's main menu.
This gives you the same focused list of critical emails. It’s not the slick, side-by-side dashboard you have on your computer, but it’s the next best thing for staying on top of priorities. Your labels essentially become your mobile command center. For outbound teams, this level of organization is non-negotiable, as it directly supports a strong sender reputation and better email deliverability.
That's a common question, and unfortunately, the answer is no. The multiple inboxes feature is a desktop-only powerhouse and isn't available in the official Gmail mobile apps for iOS or Android. When you open Gmail on your phone, you'll just see your standard primary inbox.
But there's a solid workaround I use all the time. If you build your panes around specific labels (like label:follow-up or label:urgent), you can still get to those organized lists on mobile. Just tap the menu in the app and navigate to that label. It’s not quite the same dashboard view, but it keeps your important conversations accessible when you're away from your computer.
Gmail lets you set up a maximum of five custom panes. While it's tempting to go all out, cramming five columns onto a standard laptop screen often makes everything too cluttered to be useful.
From what I've seen, the magic number for most people is between two and four panes. This gives you enough space to separate your key workflows—like active leads, follow-ups, and replied emails—without making your inbox feel claustrophobic.
For 99% of users, the performance hit is so small you won't even notice it. Simple search queries that use labels, sender addresses, or statuses like is:unread are incredibly fast because Gmail is already optimized to find them.
The only time you might feel a slight lag is if you're running a monster query with tons of OR conditions and wildcards that makes Gmail search every corner of your account. The trick to keeping things snappy is to stick with specific search terms. Better yet, use filters to apply labels automatically—Gmail can pull up emails by label in a flash.
Don't panic! This happens to almost everyone at some point, and the fix is usually just a couple of clicks away. The number one reason this happens is because your "Inbox Type" got changed. Multiple Inboxes is technically its own inbox style.
If you or an extension accidentally switched your inbox type back to 'Default' or 'Priority Inbox' under Settings > Inbox, your panes will disappear.
To get them back, just go right back to that same Inbox settings tab and select 'Multiple Inboxes' again from the dropdown. Gmail remembers your search queries and pane settings, so everything should pop back into place just as you left it.
Ready to scale your outreach without worrying about deliverability? InboxKit provides official Google Workspace and Microsoft 365 inboxes with automated DNS setup, so your cold emails land where they need to. Forget the technical headaches and focus on sending. Learn more at the InboxKit website.
Discover how to manage multiple email accounts efficiently with simple steps, workflows, and tools to stay organized and save time.
Read articleExplore b2b email marketing best practices with practical tips to boost open rates, engagement, and conversions in 2025.
Read articleDiscover the 12 best cold email infrastructure tools to scale outreach. Compare features, pricing, and deliverability for agencies and sales teams.
Read articleInboxKit provides everything you need to reach the inbox consistently