LearnGuides
How to Set Up DKIM for Cold Email (2026)
By Saksham JainPublished on: Mar 30, 2026 · 10 min read · Last reviewed: Mar 2026
TL;DR
DKIM proves your emails were not tampered with in transit. Without it, inbox placement drops 10-15%. Here is how to set it up correctly for Google Workspace and Microsoft 365.
DKIM (DomainKeys Identified Mail) adds a cryptographic signature to every email you send. The receiving server uses a public key published in your DNS to verify the signature.
If verification passes, the receiving server knows two things: (1) the email actually came from your domain, and (2) the email body and headers were not modified in transit.
Without DKIM, receiving servers have no way to verify email integrity. In our testing across 2,000+ cold email mailboxes, accounts missing DKIM see 10-15% lower inbox placement compared to properly authenticated accounts. DKIM is not optional. it is a hard requirement for cold email in 2026.
DKIM operates through a 5-step verification process that happens on every email you send:
| Step | What Happens | Where |
|---|---|---|
| 1 | Your mail server generates a cryptographic hash of the email headers and body | Sending server |
| 2 | The hash is encrypted with your domain's private key and added to the email header as DKIM-Signature | Sending server |
| 3 | The receiving server extracts the DKIM selector from the header and looks up your public key in DNS | Receiving server |
| 4 | The receiving server decrypts the signature using the public key and computes its own hash | Receiving server |
| 5 | If the hashes match, DKIM passes. If not, the email is flagged as potentially spoofed or tampered | Receiving server |
The signature covers specific headers (From, To, Subject, Date) and the email body. Altering even a single character after sending breaks the DKIM signature.
Here is the complete DKIM setup process for both providers side by side:
| Step | Google Workspace | Microsoft 365 |
|---|---|---|
| 1. Access admin panel | Google Admin Console > Apps > Google Workspace > Gmail > Authentication | Microsoft 365 Admin Center > Settings > Domains |
| 2. Generate DKIM key | Click "Generate New Record". select 2048-bit key length | Microsoft auto-generates two CNAME records when you add a domain |
| 3. Get DNS records | Copy the TXT record value (starts with v=DKIM1; k=rsa; p=...) | Copy both CNAME records: selector1._domainkey and selector2._domainkey |
| 4. Record type | Add a TXT record with host google._domainkey | Add two CNAME records pointing to selector1-yourdomain-com._domainkey.yourdomain.onmicrosoft.com |
| 5. Add to DNS | Add the TXT record at your domain registrar or DNS provider | Add both CNAME records at your domain registrar or DNS provider |
| 6. Activate | Return to Google Admin and click Start Authentication | Go to Security Center > Threat Management > DKIM and click Enable |
| 7. Propagation | Wait 1-48 hours (usually under 4 hours) | Wait 1-48 hours (usually under 4 hours) |
| 8. Verify | Send test email to Gmail, check Show Original for DKIM: PASS | Send test email to Gmail, check Show Original for DKIM: PASS |
InboxKit automates this entire process. When you create a Google Workspace mailbox ($2.50/mo) or Microsoft 365 mailbox ($2.50/mo), DKIM records are configured automatically within minutes. Zero manual DNS editing required.
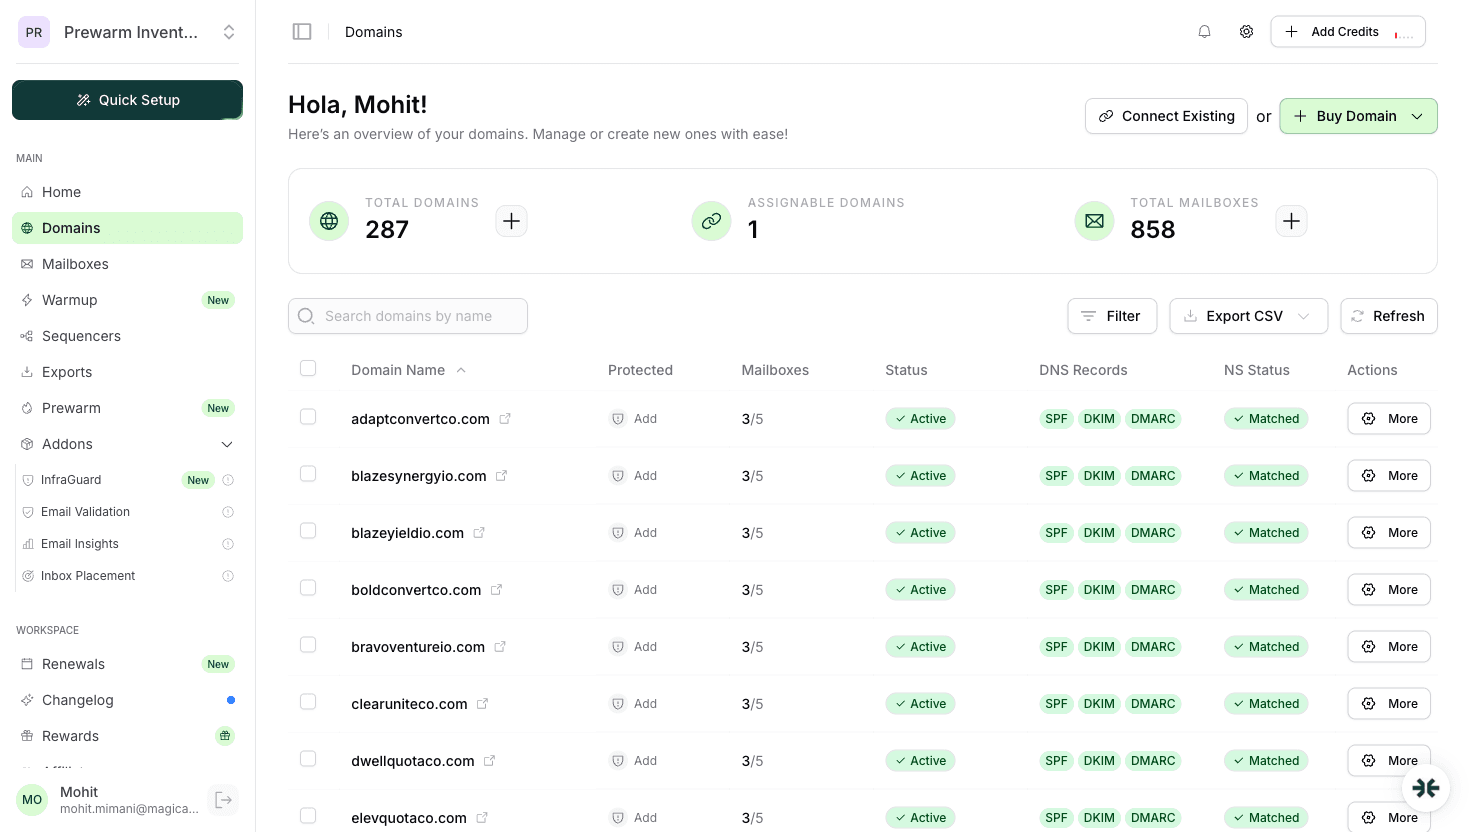
Screenshot reference: See the domains.png screenshot in the InboxKit dashboard. the DNS status panel shows real-time SPF, DKIM, and DMARC verification status with green checkmarks for each domain. Any misconfiguration is flagged immediately with a red indicator and one-click fix option.
These are the 5 most frequent DKIM failures we see across InboxKit support tickets:
| # | Mistake | Impact | Fix |
|---|---|---|---|
| 1 | Not enabling DKIM at all | Emails fail authentication; 10-15% inbox placement drop | Enable DKIM for every sending domain. all three records (SPF, DKIM, DMARC) are required |
| 2 | Wrong selector name | DKIM lookup fails silently; receiving servers cannot find your public key | Google uses google._domainkey, Microsoft uses selector1._domainkey. verify the exact selector |
| 3 | Sending before DNS propagation | DKIM fails for all emails sent before records propagate | Wait 1-4 hours minimum after adding records; verify with MXToolbox before sending |
| 4 | Copy-paste errors in key value | A single wrong character breaks the entire cryptographic signature | Use the raw copy button in your admin panel; never manually type DKIM values |
| 5 | Multiple DKIM records for same selector | DNS resolvers may return the wrong record | Only one DKIM record per selector; delete old records before adding new ones |
Pro tip: DKIM keys should be 2048-bit (not 1024-bit). Google defaults to 2048-bit, but some older configurations may still use 1024-bit keys. Upgrade if you have not already.
Use these 3 verification methods to confirm DKIM is working correctly:
| Method | How To | Best For |
|---|---|---|
| Gmail Header Check | Send a test email to a Gmail account > open it > click three dots > Show Original > look for dkim=pass | Quick manual verification of a single mailbox |
| MXToolbox DKIM Lookup | Go to mxtoolbox.com/dkim.aspx > enter your domain and selector (e.g., google for Google Workspace) | Verifying DNS record is published correctly |
| InboxKit InfraGuard | Navigate to InfraGuard in your InboxKit dashboard. DKIM status is checked automatically every few hours | Ongoing automated monitoring across all mailboxes |
InboxKit's InfraGuard monitors DKIM for every mailbox and alerts you immediately if a record breaks or is removed. For teams running 50+ mailboxes, this automated monitoring replaces hours of manual checking per week.
Yes. DKIM is configured automatically for both Google Workspace and Microsoft 365 mailboxes during provisioning.
Emails fail DKIM authentication, which can cause 10-15% lower inbox placement. DMARC policies may also reject or quarantine unsigned emails.
Usually 1-4 hours, can take up to 48 hours. Do not send campaigns until DKIM is verified.
Plans from $39/mo with 10 mailboxes included. Automated DNS, warmup, and InfraGuard monitoring included.