LearnGuides
Connect InboxKit Mailboxes to Supersend in Under 2 Minutes
By Mohit MimaniPublished on: Apr 11, 2026 · 7 min read · Last reviewed: Apr 2026
TL;DR
Supersend is one of only two sequencers in the InboxKit catalog that uses a single API key instead of email + password. InboxKit validates the key, shows the connected account, and pushes every selected mailbox in one call.
Supersend is one of only two sequencers in the InboxKit catalog (the other is BrandJet) that connects with a single API key instead of email + password. You generate a key inside Supersend, paste it into the InboxKit Sequencers Connect screen, and InboxKit validates the key against Supersend's account endpoint. On success, InboxKit displays the account name and email on a green card so you can confirm you're pushing mailboxes into the right Supersend account before hitting Connect.
Total setup time is under 2 minutes once you have the API key in your clipboard. There are no per-mailbox consent screens, no SMTP server to remember, and no app password generation. This is the fastest connect path in the entire catalog: roughly on par with SendKit's API-key flow.
Every other sequencer in the InboxKit catalog asks for either email + password (Instantly, Smartlead, Reply.io) or goes through full OAuth. Supersend picked a different pattern because of how its sending architecture works:
| Design choice | What it means for you |
|---|---|
| Account-scoped API keys | One key corresponds to one Supersend account, not one seat |
| Managed SMTP inside Supersend | You never paste SMTP credentials into InboxKit, Supersend handles the outbound layer |
| Account info returned on validation | InboxKit shows the account email + display name in a green card before you click Connect |
| Debounced key validation | 800ms after you stop typing, InboxKit pings Supersend's verify endpoint automatically |
The key validation is specifically implemented in the InboxKit connect flow as a debounced API-key check against Supersend's verify endpoint. If the key is invalid, you see 'Invalid API Key'. If the key is valid, you see the account's email and display name on a confirmation card. The flow mirrors BrandJet's API-key validation but returns slightly different metadata.
Have these ready before opening the InboxKit Sequencers Connect screen:
| Item | Where to find it | Required |
|---|---|---|
| Supersend account (any paid plan) | supersend.io | Yes |
| Supersend API key | Supersend → Settings → API / Integrations → Generate API Key | Yes |
| At least one InboxKit mailbox provisioned | InboxKit → Mailboxes | Yes |
| SPF, DKIM, DMARC, MX records live | InboxKit handles this automatically via Cloudflare in under 60 seconds | Yes |
| InboxKit plan on Professional or higher | inboxkit.com/pricing | Yes |
Where the API key lives: Inside Supersend, go to Settings → API (or Integrations on older accounts). Click Generate new key, name it 'InboxKit', and copy it once, Supersend only shows the full key on generation. Store it in a password manager; if you lose it, you have to rotate and reconnect. Source: Supersend help center, Senders Overview.
InboxKit already provisions SPF, DKIM, DMARC, and MX automatically via Cloudflare at mailbox creation time, so the DNS row is green before you reach Supersend. If you want to double-check the records, see the cold email domain setup checklist.
Once you have the API key in your clipboard, the actual connection is a single screen:
| Step | Action | Expected time |
|---|---|---|
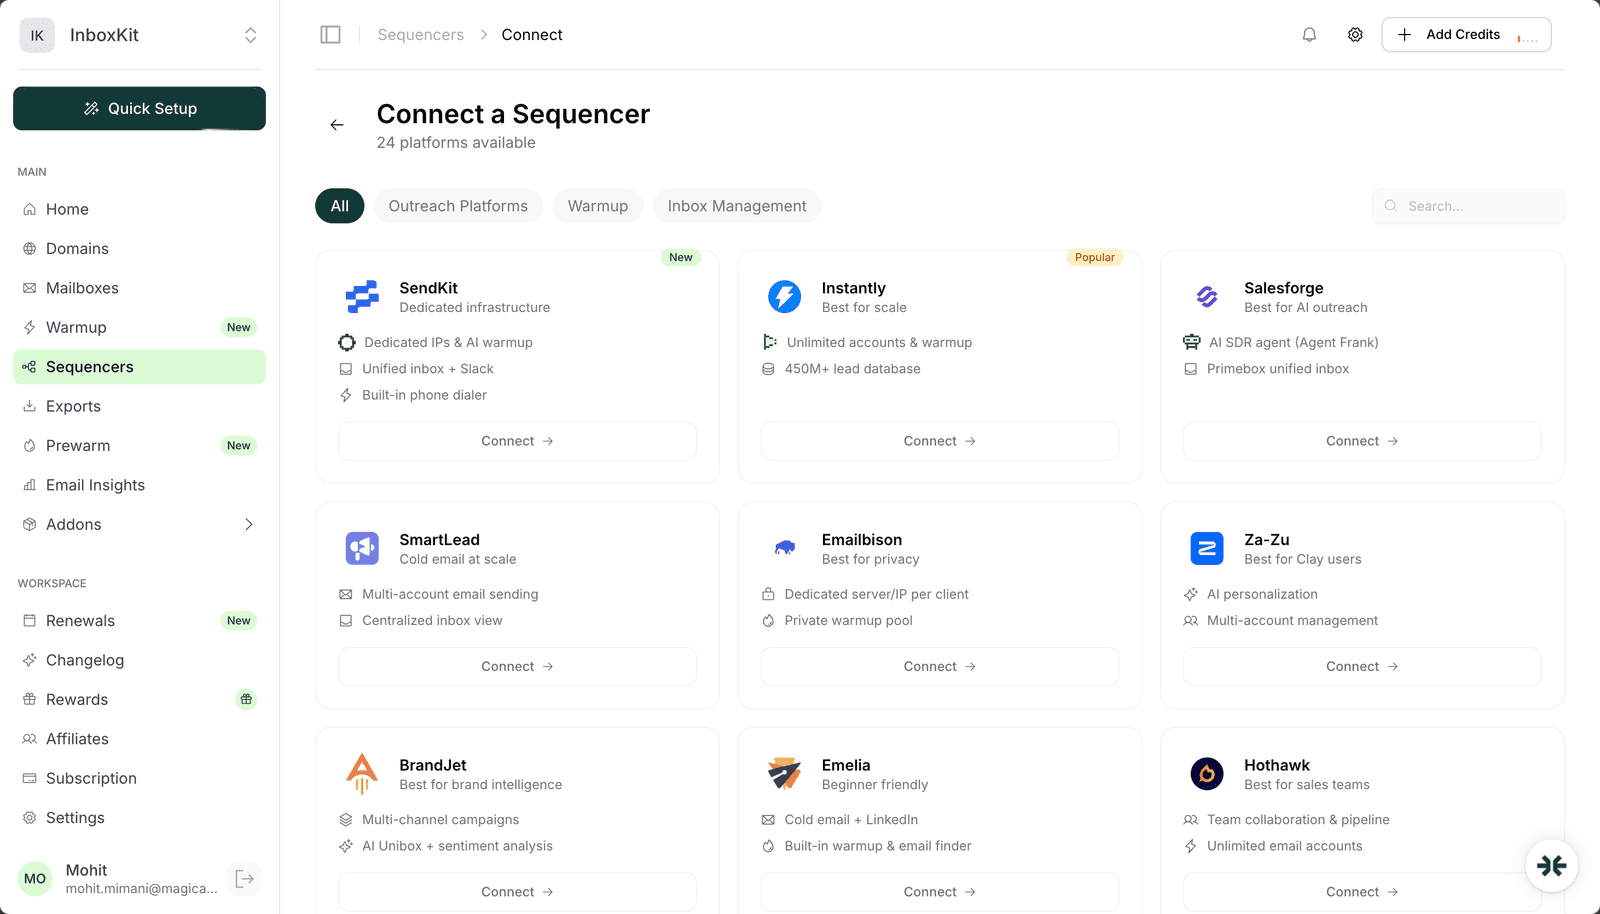
| 1 | InboxKit → Sequencers → Connect New Sequencer | 5 sec |
| 2 | Filter by Outreach and pick Supersend | 5 sec |
| 3 | Paste your Supersend API key into the single API Key field | 5 sec |
| 4 | InboxKit auto-validates the key 800ms after you stop typing | 1 sec |
| 5 | On success, a green card appears showing the Supersend account's email and display name | , |
| 6 | Confirm the account is correct, then click Connect Account | 5 sec |
| 7 | InboxKit pushes every selected mailbox to that Supersend account | 20-40 sec |
| 8 | Redirect to /sequencers with success toast | , |
Total: about 90 seconds, start to finish.
There is no email, no password, no SMTP dropdown, no per-mailbox OAuth consent screen. The Supersend account display card is the only confirmation you need, if the account email matches the one you logged into Supersend with, the connection is pointed at the right place.
After validation, InboxKit renders a card with two pieces of metadata pulled from Supersend's verify endpoint:
| Field | Source | What to check |
|---|---|---|
| Account email | Supersend account owner email | Matches the email you log into Supersend with |
| Display name | Supersend account display name | Matches the team or workspace name you expect |
If the email doesn't match: for example, you copied an API key from a stale browser tab logged into a different Supersend account: stop and regenerate the key from the correct account. Pushing 30 mailboxes into the wrong Supersend account is recoverable, but you have to delete them from inside Supersend one at a time. Five seconds of verification saves 20 minutes of cleanup.
Silent failure mode: If Supersend's verify endpoint is down, InboxKit will toast a 'Service Unavailable' error instead of a validation result. Retry once; if it persists, check status.supersend.io or come back in 15 minutes. Do not try to force-submit without validation, the Connect Account button is disabled until the green card appears.
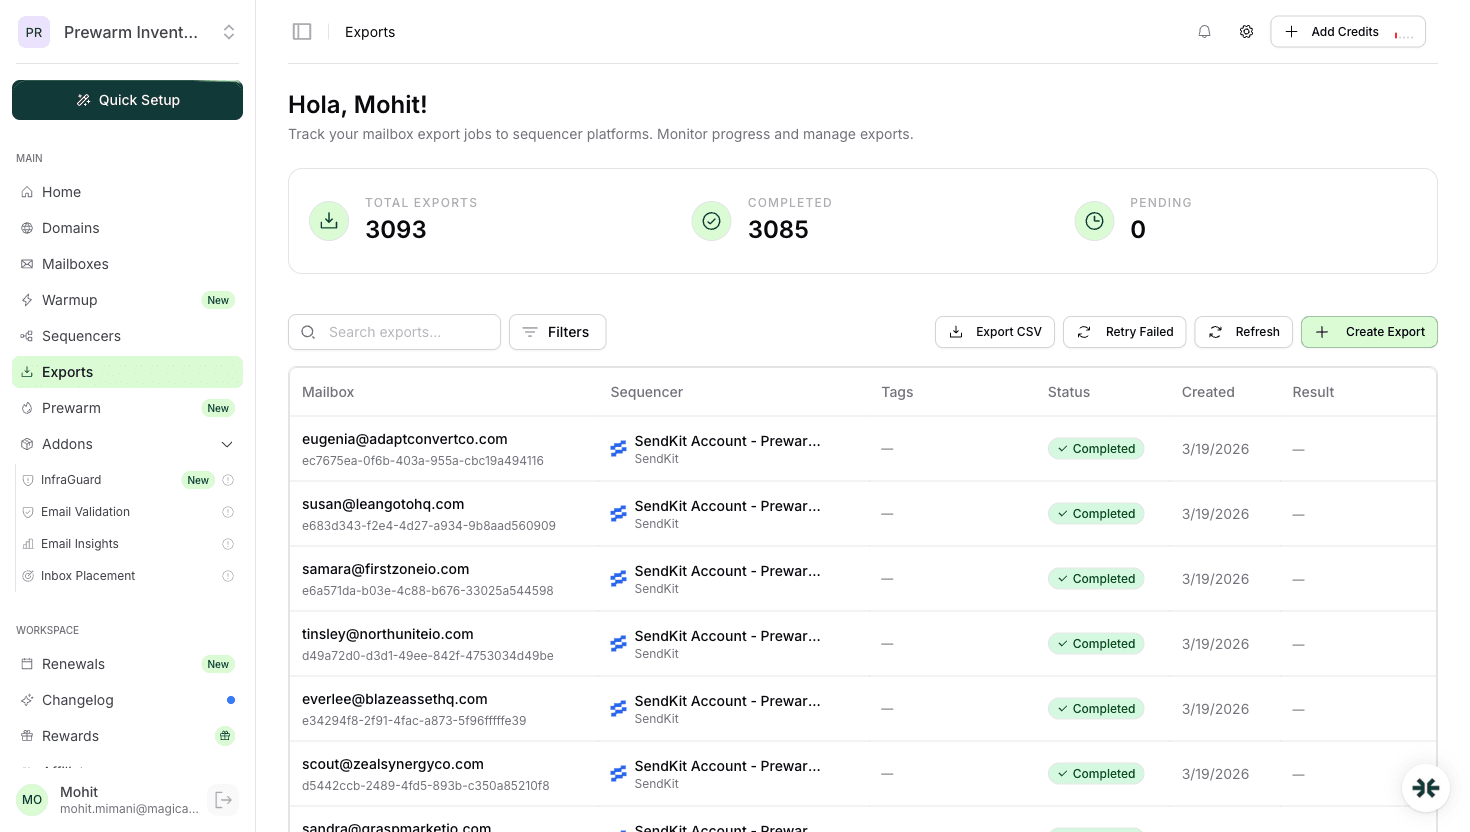
Once connected, Supersend provisions each InboxKit mailbox as a 'Sender' inside its own Senders list. Supersend's public docs describe this as: 'Create thousands of sending identities from a single connection.' Each InboxKit mailbox becomes one sending identity.
| Pipeline stage | What Supersend does | What the mailbox does |
|---|---|---|
| Provision | Supersend adds the mailbox as a Sender record | Receives a new sending identity |
| Warmup hookup | Supersend's built-in warmup network queues the mailbox | Starts sending 3-5 warmup messages/day |
| Campaign assignment | You assign senders to campaigns in Supersend UI | Mailbox starts receiving real send commands |
| SMTP relay | Supersend relays through Google/Microsoft via the mailbox's managed credentials | Sends outbound campaign emails |
| Reply sync | Supersend polls via IMAP | Delivers replies to Supersend Inbox |
Use one warmup system, not two. If you already pay for InboxKit's isolated warmup add-on at $3/mailbox/month, turn off Supersend's built-in warmup in the Sender settings. Running both roughly doubles warmup sent volume and confuses Google's inbox classifiers. Pick one or the other.
Supersend's default daily limit is too aggressive for brand-new InboxKit mailboxes. Use this schedule instead:
| Mailbox age | Daily limit | Warmup target | Notes |
|---|---|---|---|
| Day 1-14 | 0 | 5-10/day | Warmup only, no real sends |
| Day 15-30 | 15 | 15 | First real campaigns |
| Day 31-45 | 25 | 20 | Ramp |
| Day 46-60 | 35 | 25 | Approaching steady state |
| Day 60+ | 40-50 | 25 | Steady state |
Google's published hard cap for Google Workspace outbound relay is around 2,000 external recipients per day (source), but the practical cold-email ceiling is 40-50 per mailbox before reputation degrades. To hit higher volume, add more InboxKit mailboxes instead of pushing any single mailbox past 50/day. For the full volume math, see scale cold email 100 to 10000 and email sending limits Google vs Microsoft.
| Error | Cause | Fix | Frequency |
|---|---|---|---|
| 'Invalid API Key' badge after paste | Key was copied with a trailing space, or was rotated in Supersend | Regenerate the key in Supersend Settings → API, paste fresh | 40% |
| 'Service Unavailable' toast | Supersend's verify endpoint timed out | Retry after 15 minutes, check Supersend status page | 15% |
| Green card shows wrong account email | API key came from a different Supersend account | Log out of the stale account, generate a new key from the correct one | 20% |
| Mailboxes pushed but don't appear in Supersend Senders list | Warmup status not yet synced | Wait 2 minutes and refresh the Supersend Senders page | 15% |
| 'Domain not verified' on first send | SPF/DKIM/DMARC not propagated from the InboxKit mailbox domain | Wait 30 minutes, re-check via DNS Checker | 10% |
One more footgun: If you hit the Connect Account button too fast: before the debounced validation completes, the button stays disabled. Wait for the green card before clicking.
Do not trust the green toast alone. Run this three-step smoke test after every new Supersend connect:
Test 1: Check the Senders list. Supersend → Senders → filter by recently-added. Every InboxKit mailbox you selected should appear within 60 seconds. If any are missing, they failed validation on Supersend's side: usually an IMAP handshake issue.
Test 2: Send a test from Supersend. Pick one Sender → Send test email to your own inbox. Expect delivery within 30 seconds. If the test fails, SMTP relay is broken.
Test 3: Warmup activity after 24 hours. Check the Sender's Warmup tab. You should see 5-10 sent, 3-7 received, 1-3 replies. If all counts are zero, warmup never started, the Sender is still in pending state. See inbox placement testing explained for deeper validation of deliverability.
Only if each sequencer targets different recipients and never sends within the same minute. In practice, two sequencers racing on the same mailbox will hit Google's per-minute SMTP limits and fight over IMAP read flags. Dedicate each mailbox to one sequencer at a time.
Pick one. Supersend's warmup uses a shared pool and is included. InboxKit's isolated warmup ($3/mailbox/month) uses a separate peer network and generally produces cleaner reputation signals. Running both at once roughly doubles warmup volume and confuses Google.
Both use a single API key, but the returned metadata differs. Supersend shows account email + display name. BrandJet shows account email + name. Both render in InboxKit as a green confirmation card. Functionally the connect flow is identical, the only difference is the underlying sending architecture inside each product.
Inside Supersend, go to Settings → API (or Integrations on older accounts), click Generate new key, name it 'InboxKit', and copy the full key once. Supersend only shows the full value on generation: store it in a password manager or you'll have to rotate.
Yes. Supersend bills by active Sender. Every InboxKit mailbox you connect counts against your Supersend tier. Compare the connection cost against your InboxKit plan: at [$39/month for 10 mailboxes on InboxKit Professional](/learn/inboxkit-pricing), you'd want a matching Supersend tier.
Plans from $39/mo with 10 mailboxes included. Automated DNS, warmup, and InfraGuard monitoring included.